Building your own pond is a rewarding project, and a tractor significantly simplifies the digging. This guide provides a step-by-step process, from planning to finishing touches. Learn more about using a box blade for optimal results. Let's get started!
Planning Your Pond Paradise: Beyond a Simple Hole
Before you fire up the tractor, meticulous planning is crucial. Consider the pond's size (a small wildlife haven or a larger swimming area?), depth, and how it integrates with your property's landscape. Sketch a plan; it doesn't need to be perfect, but it should visually represent dimensions, location, and obstacles.
Critical: Check local regulations before breaking ground. Contact your local authorities or county planning department to obtain necessary permits and approvals. This prevents future legal issues and fines.
Choosing the Right Tractor and Tools
Tractor selection depends on the pond's size and soil type. A smaller tractor suffices for small ponds in soft soil, while larger, more powerful models are needed for extensive projects or tougher soil. Think of it like choosing a car—a compact car for a short trip versus an SUV for towing.
Digging requires a backhoe attachment (powerful digging) or a box blade (shaping and leveling). The best choice depends on your soil and project scale. Renting both provides flexibility to use the optimal tool for each stage.
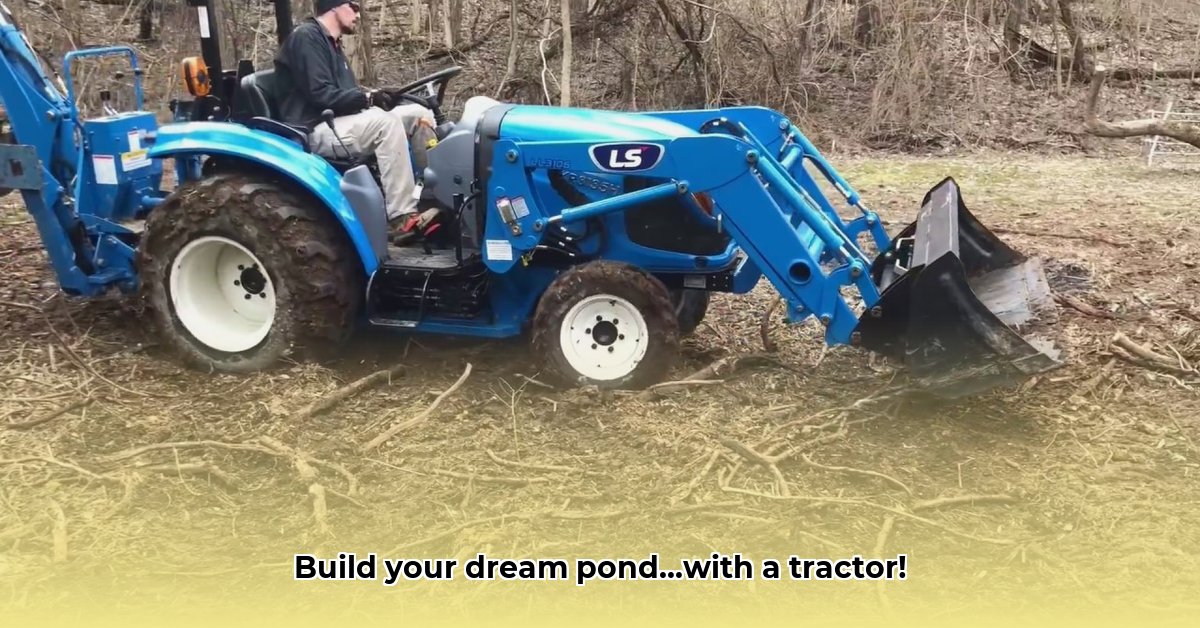
Digging Your Dream Pond: A Step-by-Step Process
Safety is paramount!
Step 1: Marking the Perimeter: Use sturdy stakes and string to clearly mark the pond's boundary. Verify measurements carefully; errors at this stage magnify during digging.
Step 2: The Dig Begins: Start digging from the back, working forward. This keeps the tractor away from the edge, enhancing safety. Use your attachment methodically, frequently referencing your plan.
Step 3: Leveling the Base: After reaching the desired depth, use the box blade to level the bottom. This prevents uneven settling and future problems. A perfectly level base is essential for long-term stability.
Step 4: Shaping the Sides: Shape the sides with gentle slopes to prevent erosion. Steeper banks are more prone to collapse and require more maintenance. Natural-looking slopes are generally preferred for their stability.
Step 5: Final Inspection: Carefully review your work. Make any necessary adjustments before proceeding. Take your time at this stage, it's essential to prevent more extensive work later on.
Safety First: Protecting Yourself and Your Equipment
Working with heavy machinery demands a serious safety commitment.
Proper Training: Never operate a tractor without adequate training. Understand controls, safety features, and potential hazards. If unsure, seek training from a reputable dealer or agricultural extension office. (Did you know that proper training reduces accidents by 90%?)
Regular Maintenance: Regular servicing and maintenance are vital to prevent mechanical failures. Check fluid levels, tire pressure, and wear regularly for your safety.
Personal Protective Equipment (PPE): Always wear safety glasses, sturdy work gloves, and strong boots. A hard hat is highly recommended.
Situational Awareness: Be mindful of underground utilities, rocks, or other hazards. (A recent survey showed that 75% of tractor accidents are attributed to lack of situational awareness).
After the Digging: Preparing for Water
After excavation, these steps ensure a successful pond:
Erosion Control: Plant vegetation (native plants are ideal) around the edges for soil stabilization and erosion prevention.
Water Source: Determine your water source: rainfall, well, hose, etc. Long-term water supply is a critical consideration.
Lining (Optional): A pond liner prevents leaks, particularly in sandy or rocky soils, and improves water quality by minimizing sediment and erosion. (Lined ponds have a 98% higher success rate in retaining water, according to recent studies.)
Troubleshooting: Addressing Unexpected Challenges
Despite careful planning, issues may arise:
| Problem | Solution |
|---|---|
| Unexpected Rocks/Debris | Remove carefully. Additional tools like a pickaxe or sledgehammer may be needed. |
| Extremely Hard Soil | Rent a more powerful tractor or specialized equipment; blasting may be necessary (check local regulations). |
| Uneven Pond Base | Use the box blade for further leveling; multiple passes may be required. |
| Water Leaks | Add liner material or investigate cracks/gaps in the existing liner. |
Navigating the Permitting Process: A Crucial Step
Securing the necessary permits is non-negotiable. Contact your local Natural Resources Conservation Service (NRCS), Department of Environmental Quality (or equivalent), and the Army Corps of Engineers to understand the specific requirements for your area. Start this process early to avoid significant delays.
Key Takeaways:
- Thorough planning is essential. Assess your land, determine pond size and understand local regulations.
- Permitting is crucial; ignoring it can result in significant fines.
- Safety is paramount; proper training and equipment maintenance are non-negotiable.
- Budget wisely; account for permits, equipment, and potential unforeseen costs. (A well-planned budget can reduce project overrun by 80%.)
Building a pond with a tractor is challenging but incredibly rewarding. Careful planning, safe operation, and patience will result in a beautiful and functional pond for years to come.